
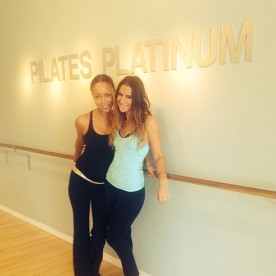
If you live in LA, then you know Pilates Platinum (where actresses, Victoria Secret models, and every mom and friend in the neighborhood trains). There are four locations and they are owned and operated by one of my best friends, Heather Dorak. Born and raised in Texas, with a background in dance, Heather suffered an injury that kept her from performing. It was with pilates that she not only regained her strength, but found a new passion that she evolved into an inspiring collection of studios that now include spinning and barre classes. We met almost a decade ago when she opened her first studio in Hollywood, and our friendship was instantaneous. Morning jogs together down Sunset, silly and adventurous girls trips, a half marathon in Malibu, late night talks about boys, and all the other girlie stuff in between. Heather’s philosophy on fitness is much less about a workout, and much more about a lifestyle. To being strong and feeling good, to finding the fun in your workout no matter where you are. Today for The TIG, Heather shares some of her secrets to keep fit while traveling. ‘Tis the season.
Heather
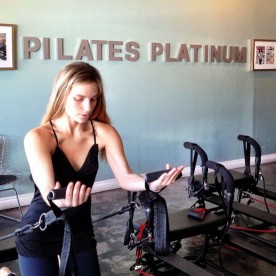
For this workout you will need either paper plates or towels and a non carpeted floor (try the balcony of your hotel room, a nice area outside, or even the tiled floor of your bathroom! Whatever works).
**I love using these props for a workout because it creates a whole new challenge to everyday body weight exercises and it is the closest thing that mimics the carriage on the Megaformers in my studios**
I will describe the moves using paper plates – just remember the plates can be interchanged with towels. This workout is also going to target one side of the body before moving to the other side.
Paper Plate Legs
TIME: 1-6 Minutes
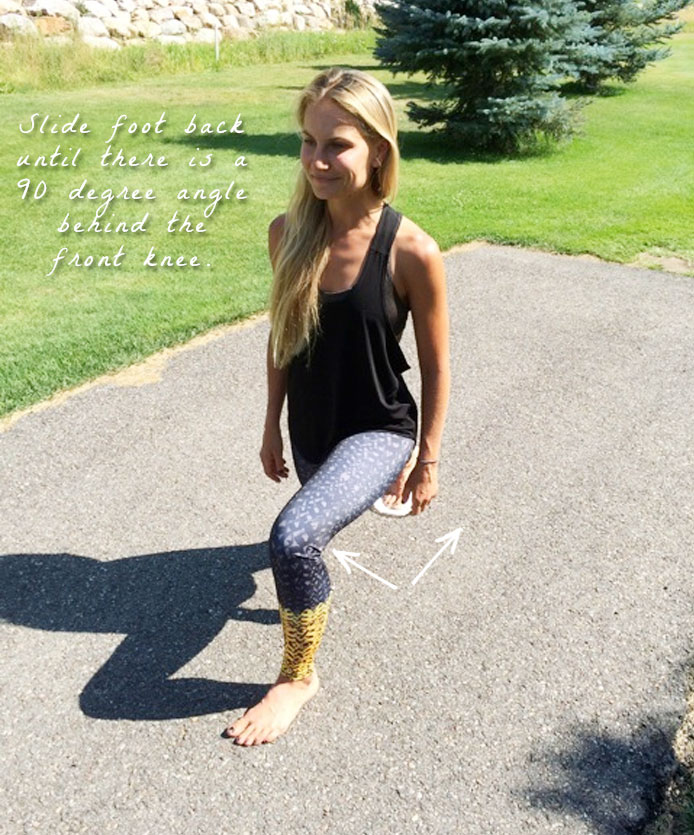
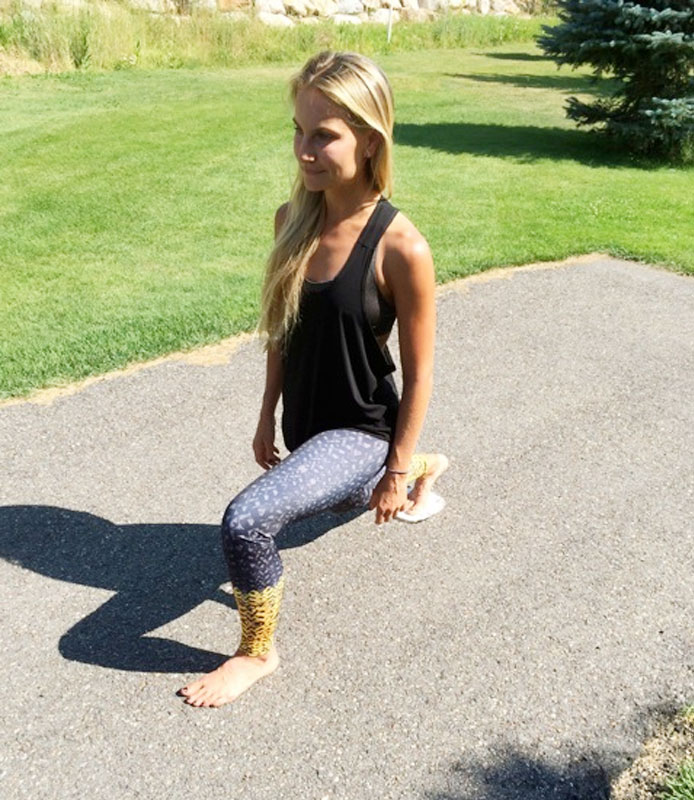
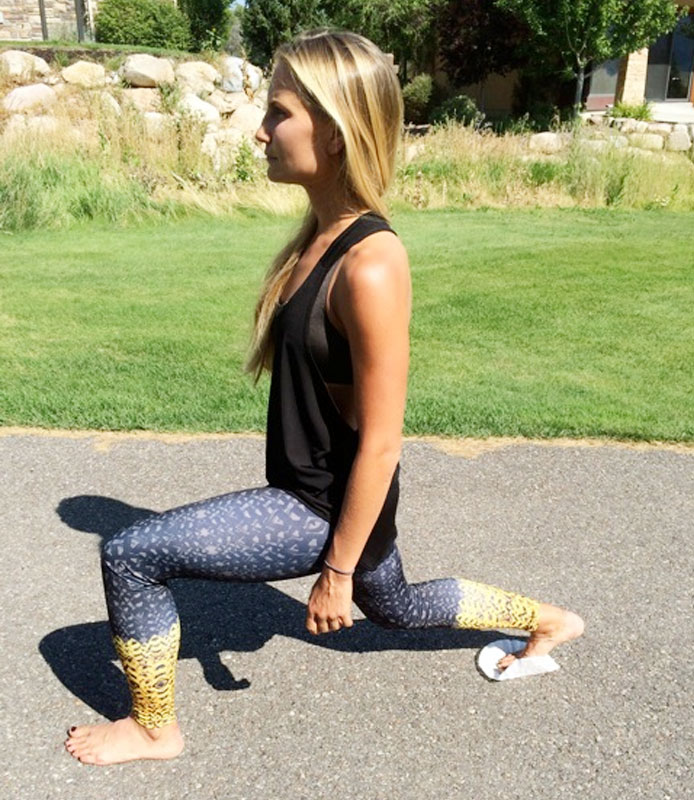
1 minute Right Leg Pendulum Lunge: Place a paper plate underneath your left leg. Keeping your right leg stationary with your body weight pressing through the right heel, slide your left foot behind you, keeping your leg straight. Your heel can lift off the ground in order to lower your right leg down into a 90 degree angle behind the knee. Once you have achieved 90 degrees, keep here for a moment before sliding your left foot back forward to meet the right foot. Instead of having your left foot stay next to your right, bypass it by pushing your left foot forward to achieve a 90 degree angle now in your left leg.
1 minute Right Leg Moving Lunges: The exercise is the same as the previous, except you are going to take the forward motion out of it. The left foot is only going to move backwards, lowering the right leg into a 90 degree position.
Hold your last rep with the right leg at 90 degrees during your minute to transition smoothly into your next minute.
1 minute Right Leg Lunge Hold: Holding your right leg in 90 degrees for the whole duration of the minute you are going to slide your left foot back and forth like you were in your lunge, the difference here is that your right leg never straightens. You have to hold the position and really feel that burn in your right quad. If you need to take a rest make sure it is only for a moment before getting back into the exercise.
The sculpting happens during the burn not when you hit the burn, so make sure you work through the burn as long as you can.
Transition to the plate under your left foot now for the next three minutes and follow the same exercises you did for the right leg.
Paper Plate Pushup Series
TIME: 7-10 Minutes
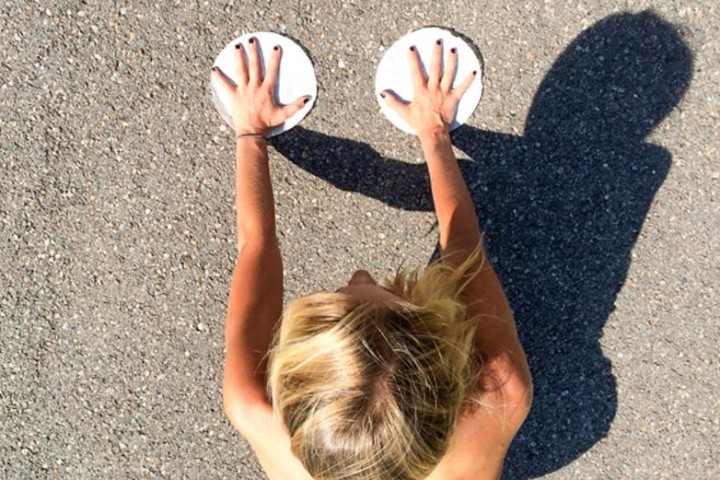
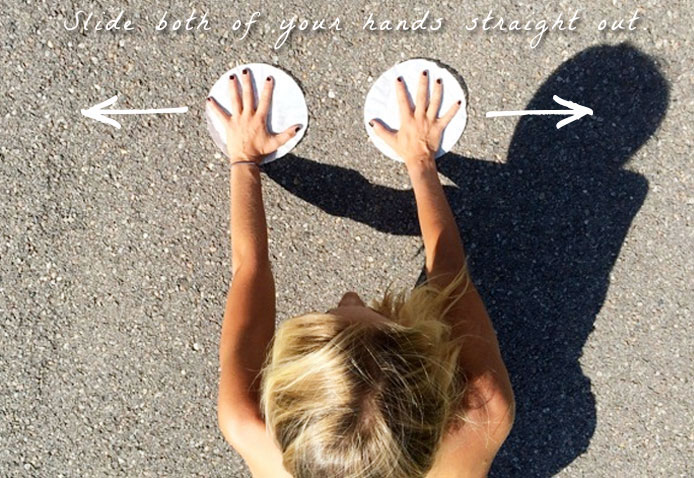
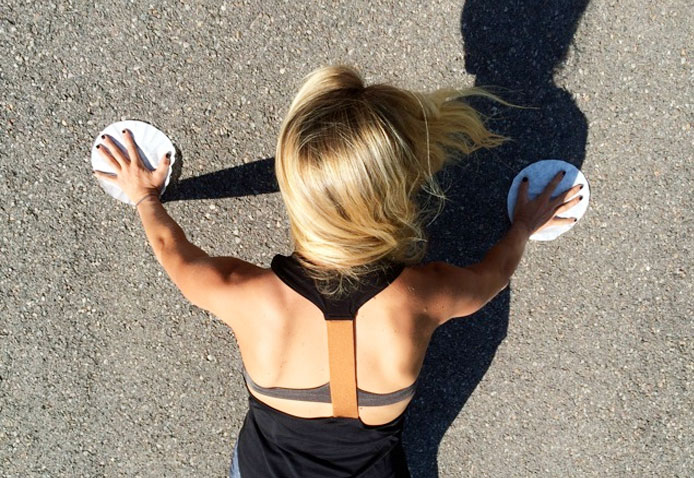
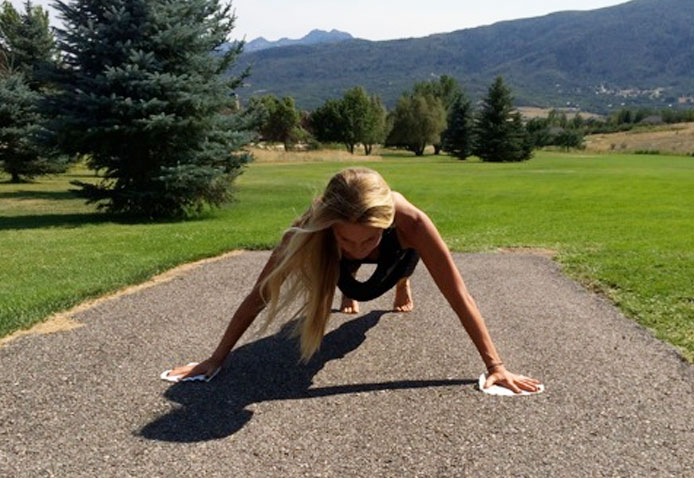
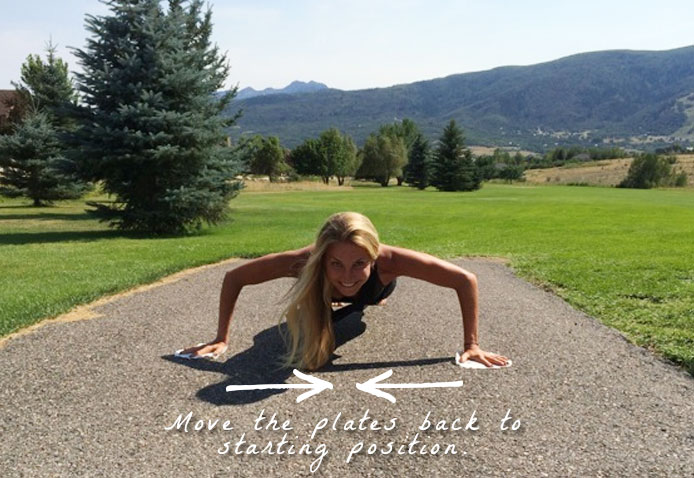
1 minute T-slide Push-ups: Place the plates under each hand. You can perform this exercise either on your knees or on your toes. Toes will be a greater challenge. Putting your body into your push-up position, the movement of the plates is going to occur as you lower your chest to the ground. Make sure your abs are pulled into your spine and that your butt isn’t sticking up in the air or dipping towards the ground. You want to be in a nice straight line from head to knees (whether you are on your knees or toes). As you lower your chest to the ground you are going to slide both of your hands straight out from your shoulders. Keep your arms as straight as position during this whole exercise. If you find you need to bend your arms, just don’t slide them out as far. From an aerial perspective your arms and body should look like the letter ‘T’. Push your weight through your hands, keeping your arms nice and straight, then move the plates back to starting position under your shoulders.
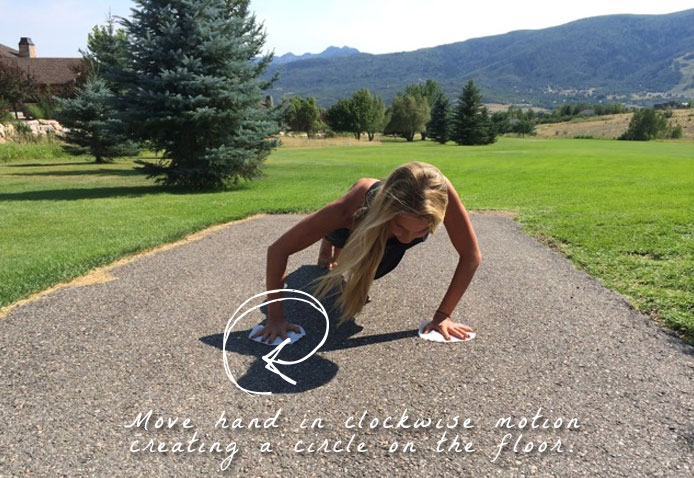
1 minute Right Arm Circle Push-ups: The plates stay under the hands, except for in this exercise the left hand does not move. It stays under the left shoulder and as the chest lowers down the left elbow stays tucked into the side. As the chest lowers to the ground, the right hand is going to move in clockwise position creating the largest circle position on the floor. As the chest raises back up from the floor, the circle should be half drawn, making its way back to starting position as soon as the chest is back to starting position and arms are straight under the shoulders. Continue the motion for the full minute.
1 minute Left Arm Circle Push-ups: This is the same as the previous minute except you are circling your left-hand now.
Paper Plate Plank
TIME: 11-15 Minutes
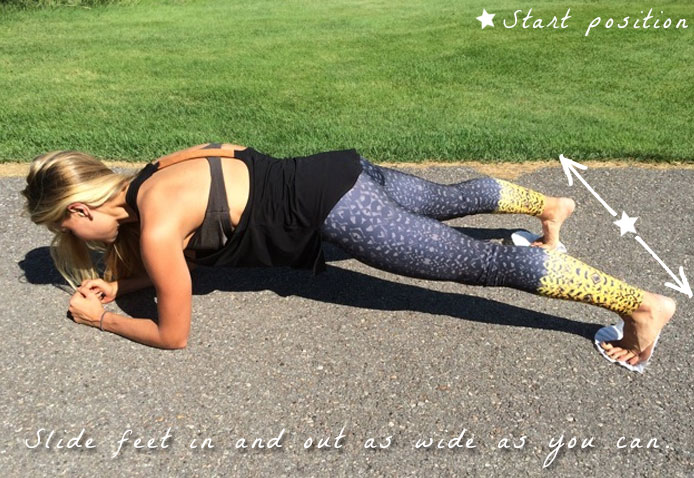
1 minute In & Outs: In a plank position place the plates under your toes. You can do this exercise either on your hands or on your elbows. Keeping your body as still as possible except for your legs, start with your feet next to each other and then slide them open as wide as you can. Once you reach your max width, slide your feet back to meet one another. Keep your abs pulled into your spin, your back flat and press through your hands/elbows while sliding your feet in and out for the whole minute.
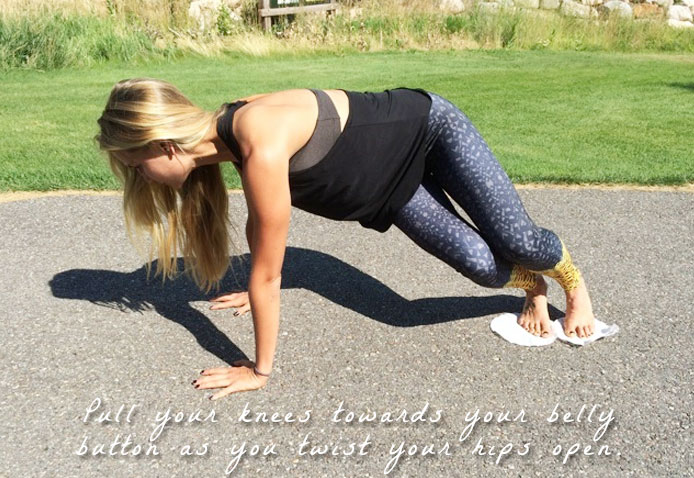
1 minute Plank Right Twist: Keeping in your plank position with the plates under your toes, for this minute your feet are going to stay next to each other and move as a unit. You want to pull your knees towards your belly button as you twist your hips to open to the right. Aim to reach your knees to your right arm pit. Once you achieve the point when you can’t pull your knees in any further, straighten your legs back into the plank starting position. Keep in mind that while you are pulling your knees in you don’t want to pop your butt into the air. Your abs should stay tight and keep yourself as low in the plank as possible. This exercise may be best for most from the hands position (seen below) instead of on the elbows. Keep pulling the knees in and out for the whole minute.
1 minute Plank Left Twist: Perform the same exercise as the previous minute but this time pulls your knees to the left and open your hips open to the left.
1 minute Plank: Nothing fancy, just hold a plank – you should feel quite the burn during this minute. Remember to work through the burn, you worked up until now to achieve the burn, now use the burn to change your body!
For those of you that want to take it to the next level feel free to go through the whole work out again or even go through the separate groups another time before moving on to the next group. This is a workout that never gets easy and always gives me a great satisfaction after completing. After this Paper Plate series I like to go for at least a 5k run to give my lungs a workout too! Challenge yourself: try running a 5k, doing the paper plate workout and then following with another 5k!
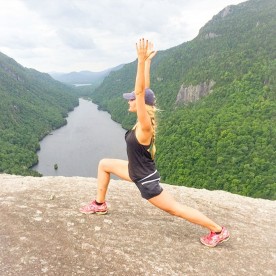
In the above images, Heather wears workout pieces from my dear friend’s company, Onzie. Lauren Balefsky and I went to Northwestern together, she is an incredible yogi, and her line is my (and Heather’s) favorite workout gear for when we want to get our sweat on. Check it out here.


Photos via: Heather Dorak